Shimoda Urban Explore Review: Your Compact City Camera Backpack
By Avery Sullivan • 27th Oct
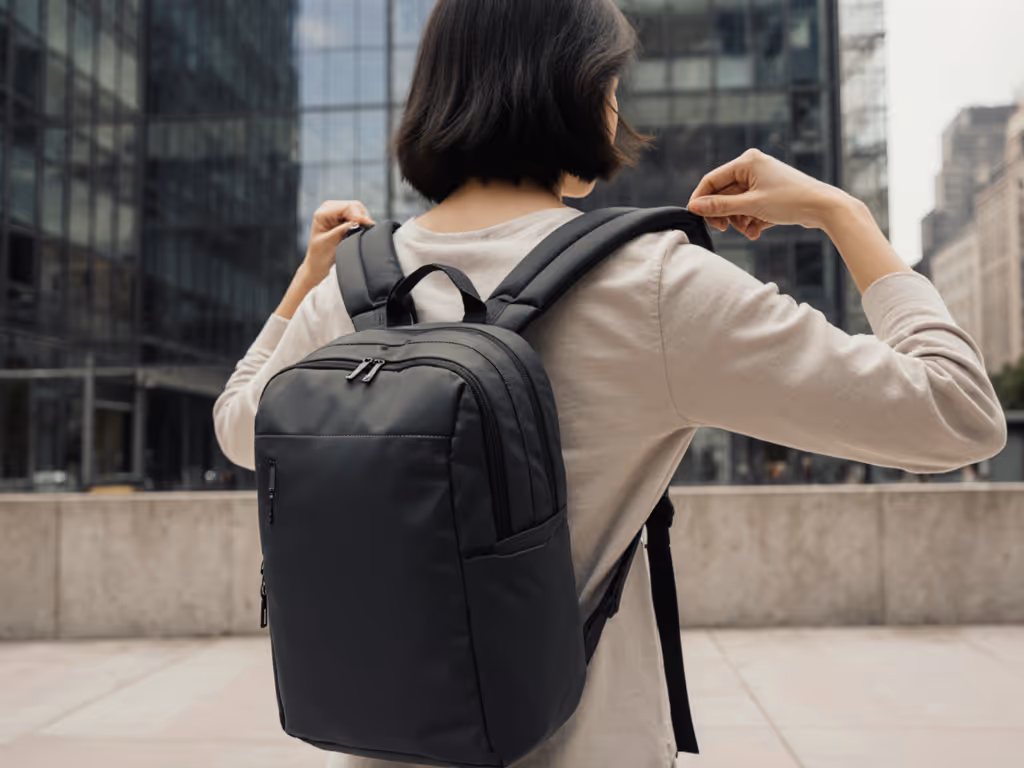
If you've ever wrestled with a bag that feels like a compromise between your gear and your body, you're not alone. I've tested the Shimoda Urban Explore across three sizes (20L, 25L, and 30L) searching for that sweet spot where compact camera backpack efficiency meets real-world creator demands. Forget bulky luggage for city streets. It's about carrying only what you need, fitting your frame, and moving without distraction. After months of commuting, shooting events, and navigating airports, I'm convinced this lineup solves the 'bag graveyard' problem by prioritizing system over stash. Let's unpack why.
Start small, fit right, build the system methodically.
Why Compact Matters More Than You Think
Most photography bags fail at the fundamental task: matching gear density to human bodies. You've felt it: straps digging into narrow shoulders, a hip belt that rides up on softer curves, or a backpack that swallows you because it's sized for gear you don't carry daily. That's why the Urban Explore's focused capacity (20-30L) isn't a limitation, it's freedom. Think about it:
- Body truth: On a 5'2" frame, a 35L bag forces you to overpack just to fill space -> shoulder strain.
- Workflow truth: Carrying one body + 2-3 lenses? You don't need 50L of unused volume -> wasted energy.
- City truth: Overhead bins, subway rush hours, and client meetings demand stealth, not bulk.
This isn't about sacrificing gear: it's about precision. My first 'pro' bag had twenty pockets and no plan. I lost time deciding where batteries lived and doubled gear just to stay sane. The Urban Explore fixes that by forcing intentional choices. And yes, you can fit a mirrorless kit plus laptop without compromise. We'll get to how.
Size Selection: Cut the Guesswork
Forget liter ratings. What matters is what fits your actual kit. Here's how I map creator needs to Shimoda's sizes based on real loadouts:
| Size | Best For | Fits Comfortably | Reality Check |
|---|---|---|---|
| 20L | Hybrid creators (photo + phone audio) | 1 body + 2 lenses + 13" laptop | Won't hold a gimbal + extra battery |
| 25L | Most versatile (video/photo pros) | 1 body + 3 lenses + 16" laptop + mics | Tripod fits only with no large lens |
| 30L | Travel vloggers | 2 bodies + 4 lenses + gimbal + laptop | May exceed some airline limits (check later!) |
Decision Tree: Which Size Do You Actually Need? -> Do you shoot only with a phone + small rig? -> 20L -> Do you carry a laptop and switch lenses daily? -> 25L (the sweet spot) -> Do you regularly haul gimbals + 2 bodies? -> 30L but verify airline compliance
Pro tip: If you're shape-shifting between photo/video days, the 25L with modular cubes beats a closet full of single-use bags. Want help choosing an organization style? See our modular vs fixed compartments guide. More on that later.
Tackling the Pain Points That Break Other Bags
Body-Harness Harmony: Finally, Adjustable Support
Most 'one-size' harnesses ignore reality: bodies aren't uniform. Narrow shoulders slip, curvier chests choke. Shimoda's secret weapon? Dual-point shoulder adjustment (yes, at the shoulder level, not just the bottom strap). This lets you:
- Distribute weight evenly across broader clavicles
- Prevent strap slippage on sloped shoulders
- Tighten chest straps comfortably over softer tissue
Real test: I wore the 25L loaded with a Sony A7IV + 24-70mm + 16" MacBook for 8 hours. Zero shoulder hot spots. Why? The straps locked in place instead of creeping toward my neck. Compare this to competitors where chest straps dig when tightened, Shimoda's magnetic clasp clicks securely without pinching. This is huge for creators with prior back strain.
Silent, Secure Access: No More Missed Shots
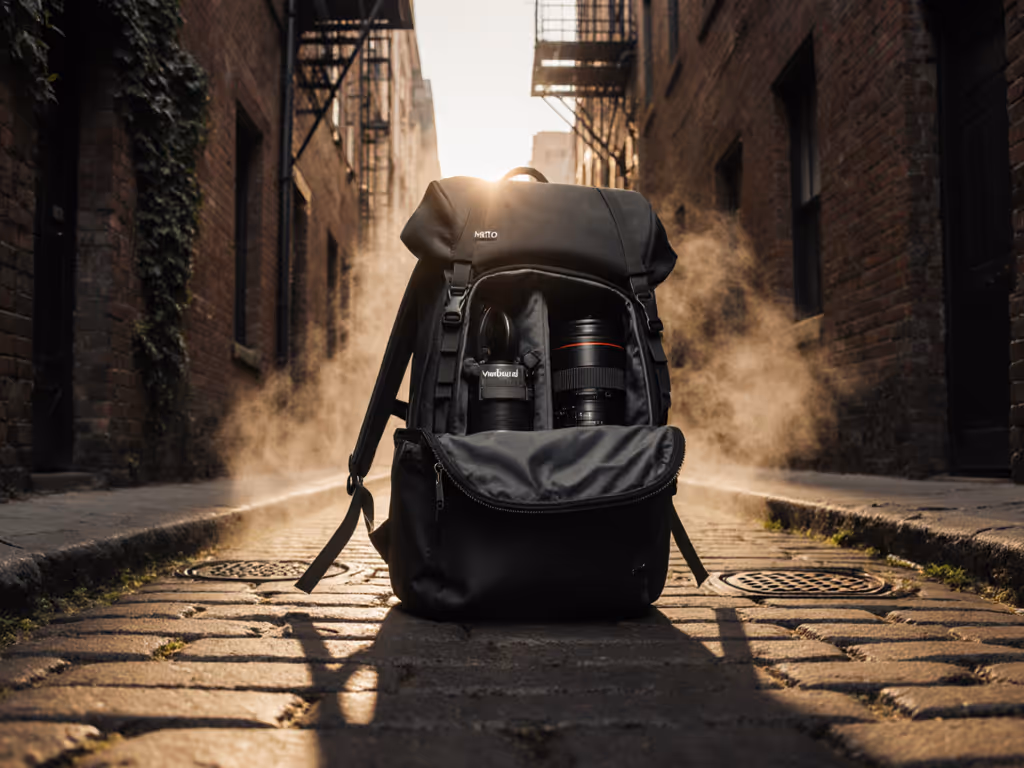
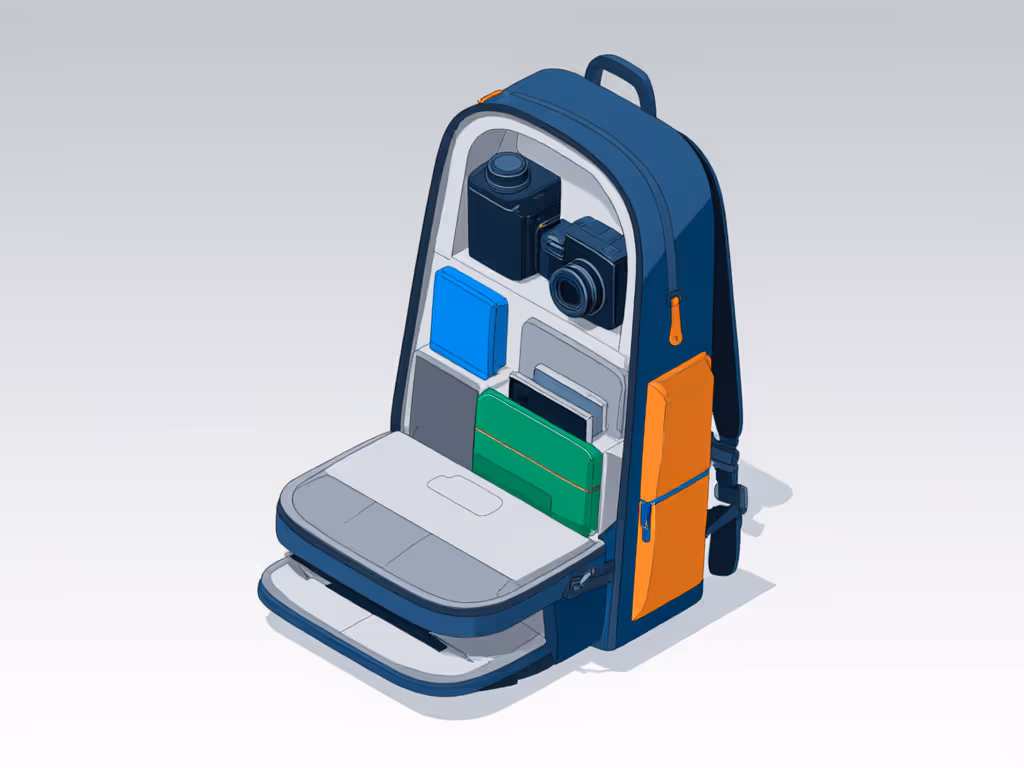
Side access is useless if you're contorted trying to reach it. The Urban Explore solves this with dual access points:
- Rear zippered panel: Full camera cube access (ideal for quick changes)
- Side zipper: Partial camera cube access (grab your body + attached lens without opening the whole bag)
Here's what reviewers miss: The side zipper only opens the front third of the camera cube. That means:
- ✅ No jostling lenses when you pull out your main camera
- ✅ Velcro stays quiet (no loud ripping near audio mics)
- ❌ No tripod mount (but honestly, do you really need one in the city?) Tripods eat space. For urban work, slide it into the side pocket (yes, it fits a compact travel tripod).
My workflow: Shooting street portraits, I unzip the side panel in <3 seconds -> grab camera -> shoot. No rummaging. Time-to-shot? Under 5 seconds. Compare that to bags where you're fumbling with straps while your moment vanishes.
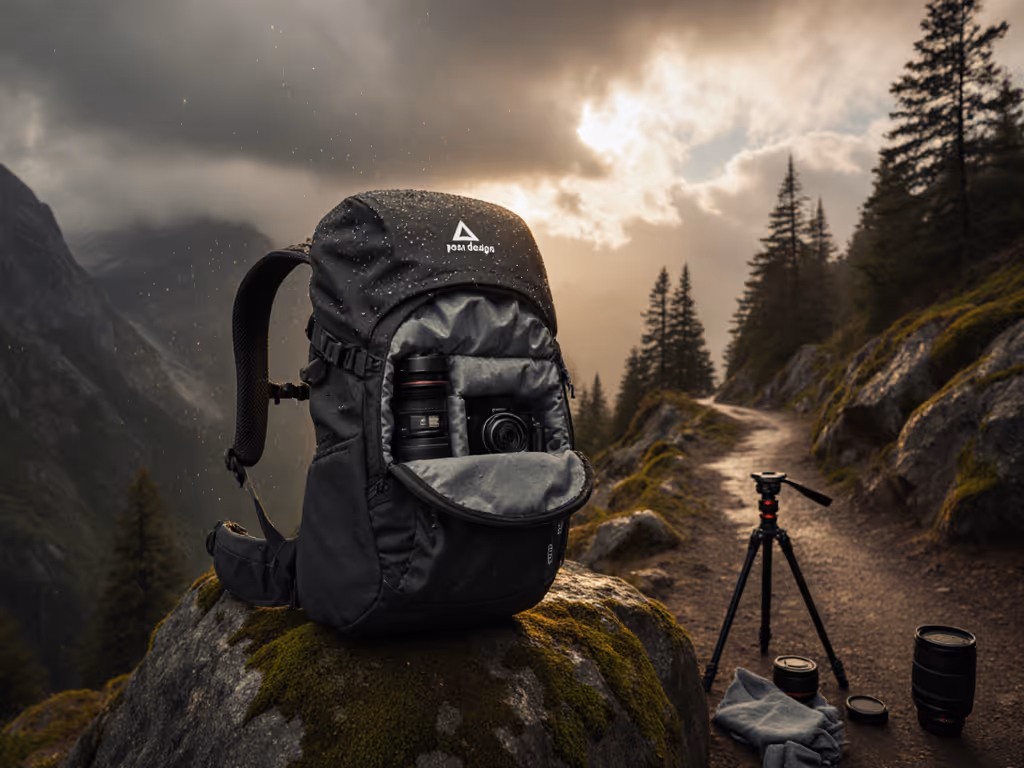
The Frame Advantage: Why It Doesn't Flop Over
Ever open a bag only to have it collapse, scattering gear? The Urban Explore's internal metal frame (borrowed from Shimoda's adventure packs) stops this. Benefits:
- Holds rigidity when empty -> easy packing
- Distributes weight evenly (no lopsided sag)
- Stands upright on floors/cabins -> no gear avalanche
This is why it's a traveling camera bag that survives airports. Before you fly, check our airline camera bag rules checklist so your pack clears TSA and carry-on limits. I tested it stuffed under a plane seat: accessible laptop compartment without opening the main bag. Critical when you're scrambling to edit before a meeting.
What Real Urban Workflow Looks Like
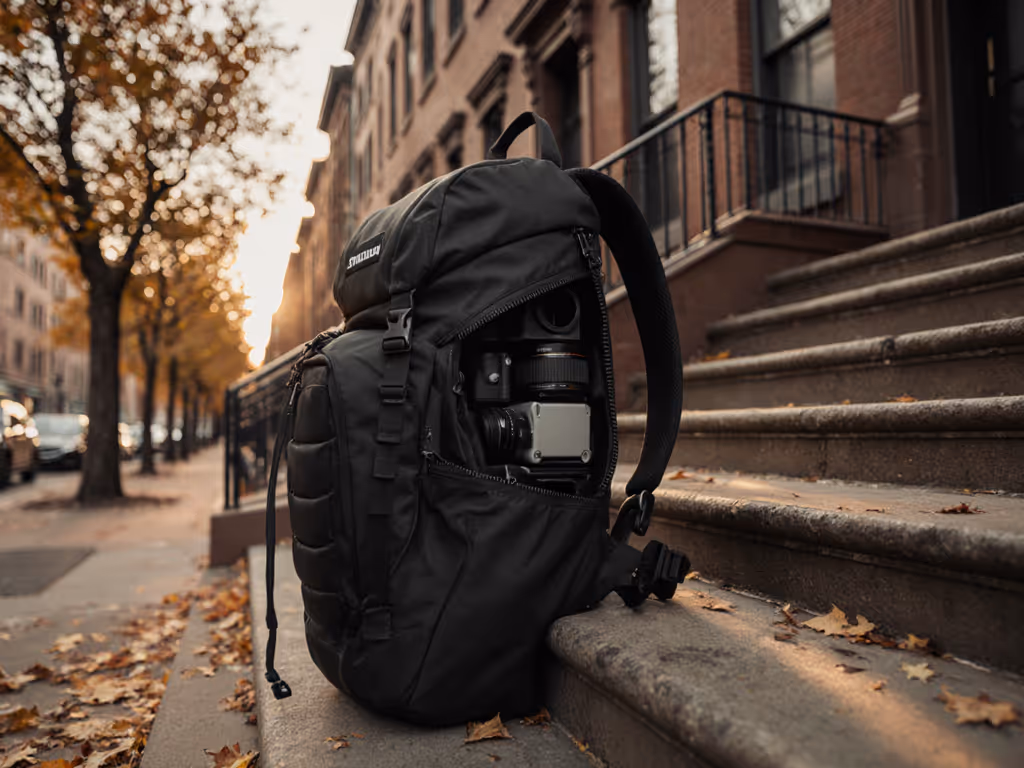
Hybrid Creator Mode (Photo + Video + Laptop)
My kit: Sony A7IV (24-70mm f/2.8), Rode NT-USB, Anker battery, 16" MacBook Pro How it fits:
- Main camera cube: Camera + mic + cables (removable)
- Top compartment: Tech Pouch (batteries/cards) + laptop (in padded sleeve)
- Side pocket: Water bottle + Anker charger
No compromises: Laptop access via top zipper only (no need to disturb the camera cube). And the hidden AirTag pocket? chef's kiss for paranoid travelers.
Size Reality Check: 20L vs. 25L for Travel
| Scenario | 20L (1.8kg empty) | 25L (2.1kg empty) |
|---|---|---|
| Airline carry-on | ✅ Fits all major airlines | ✅ Fits except Ryanair (check 25cm depth) |
| Gear capacity | 1 body + 2 lenses + 13" laptop | 1 body + 3 lenses + 16" laptop |
| Best body type | <5'5", petite/curvy frames | 5'5"-6'+, broader shoulders |
Key insight: The 25L's extra 5L isn't just volume, it's structured space. The laptop compartment stretches to fit 16" screens, while the camera cube has room for a 70-200mm f/2.8. If you're a video creator, skip the 20L. It's tight for pro audio gear.
Why This Isn't Just Another Overpriced Backpack
Shimoda backpack reviews often fixate on price ($285-$370). But ask: What's the real cost of a bad bag? Lost shoots from missed shots. Medical bills from back pain. Replacing gear damaged by poor padding. The Urban Explore solves these with:
- Modular growth: Start with the camera cube -> add Tech Pouch later -> swap cubes for drones/video. No buying a new bag.
- Stealth aesthetics: Matte anthracite or teal (no logos) -> looks like a premium commuter bag, not a camera target. If security is a priority in crowded cities, compare anti-theft camera bags tested for urban travel.
- Predictable upgrades: Shimoda's cubes fit this bag. None of that 'will my third-party divider work?' anxiety.
No shame, no gatekeeping: If your kit is a phone + gimbal, the 20L serves you. If you're schlepping cinema gear, the 30L adapts. This is urban photography gear for actual workflows, not Instagram fantasies.
Making the Call: Who Should (and Shouldn't) Buy It
Get the Urban Explore if you:
- Prioritize all-day comfort over max capacity
- Shoot in cities/streets (no wilderness hiking)
- Need laptop + camera in one bag
- Have struggled with strap slippage or back pain
Look elsewhere if you:
- Carry gimbals + 70-200mm regularly (try 30L or a dedicated video bag)
- Need hip belt load transfer (this lacks one)
- Shoot in extreme rain (waterproof cover sold separately) For real-world storm protection data, see our waterproof camera bag rain tests.
Final Verdict: A System, Not a Stash
After escaping my own bag graveyard, I judge gear by one question: Does it disappear into my workflow? The Shimoda Urban Explore does exactly that. It's not the most features bag, it's the only bag where I stopped thinking about the bag. Whether navigating Tokyo alleys or airport chaos, I know where every item lives. My setup stabilized, and each upgrade (like adding a Tech Pouch) felt intentional (not reactive).
For compact travel photography that respects your body and your time, this is the rare bag that delivers on its promise: system over stash. Start with your most-used kit. Pick the smallest size that fits. Build from there. Your creativity, not your bag, should be the star.
Start small, fit right, build the system methodically.
Next Steps
- Try before you commit: Shimoda offers a 30-day trial (keep receipts for return shipping).
- Pair it smart: Add their Tech Pouch ($45) for modular accessories, no more loose cables.
- Watch the signs: If you're adding cubes and a sling beyond 6 months, you've outgrown compact. Time to consider their two-bag system.
Still wrestling with size choices? Measure your daily kit outside the bag. Does it fit the 20L/25L/30L reality check above? That's your answer. No more guessing.
Related Articles