Camera Bag Inserts: Transform Any Backpack
By Avery Sullivan • 20th Nov
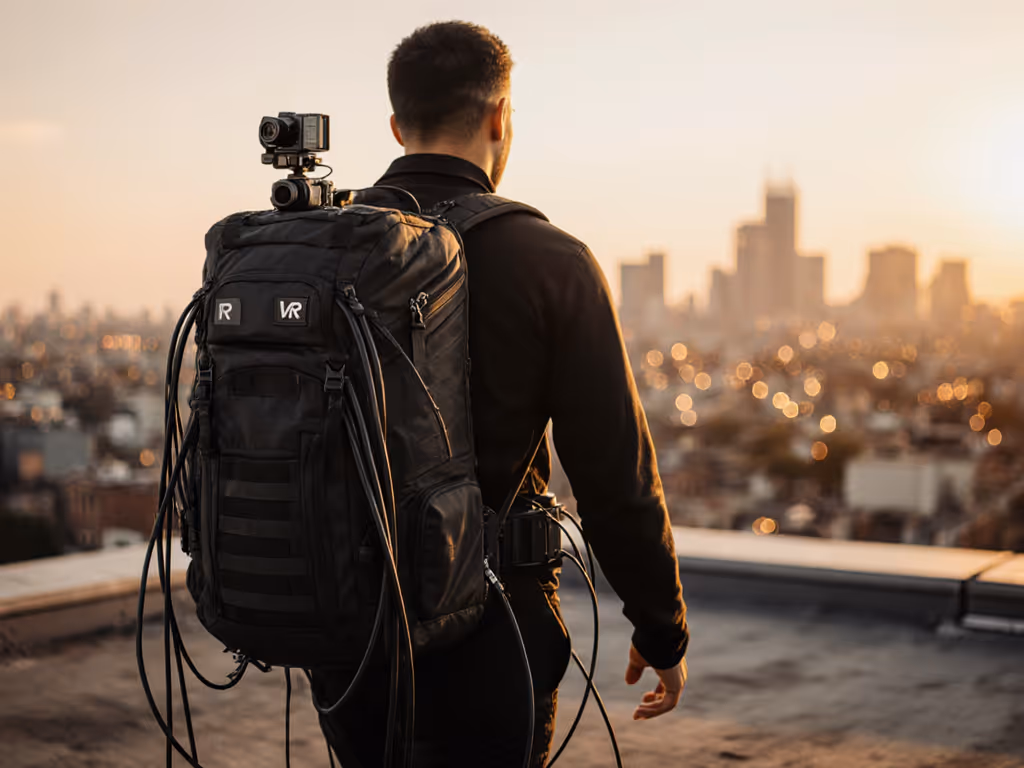
If you've ever struggled with finding the perfect camera bag that fits your body, your gear, and your workflow, you're not alone. Many photographers and creators waste months, and sometimes thousands of dollars, chasing the mythical one-bag solution that magically handles every scenario. The truth is, the secret to a genuinely compact camera backpack that fits your life isn't always buying a specialized camera bag at all. It's often about smarter integration with what you already own. Enter camera inserts, the unsung heroes of a sustainable, adaptable gear system.
system over stash
What exactly is a camera bag insert, and why should I consider one?
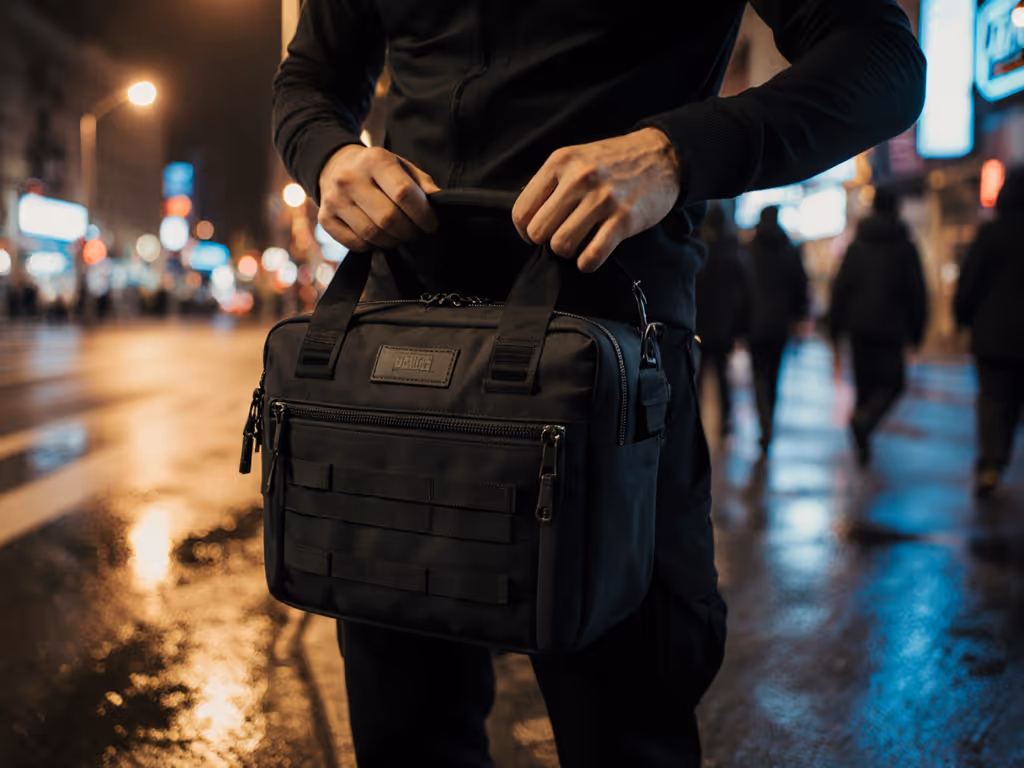
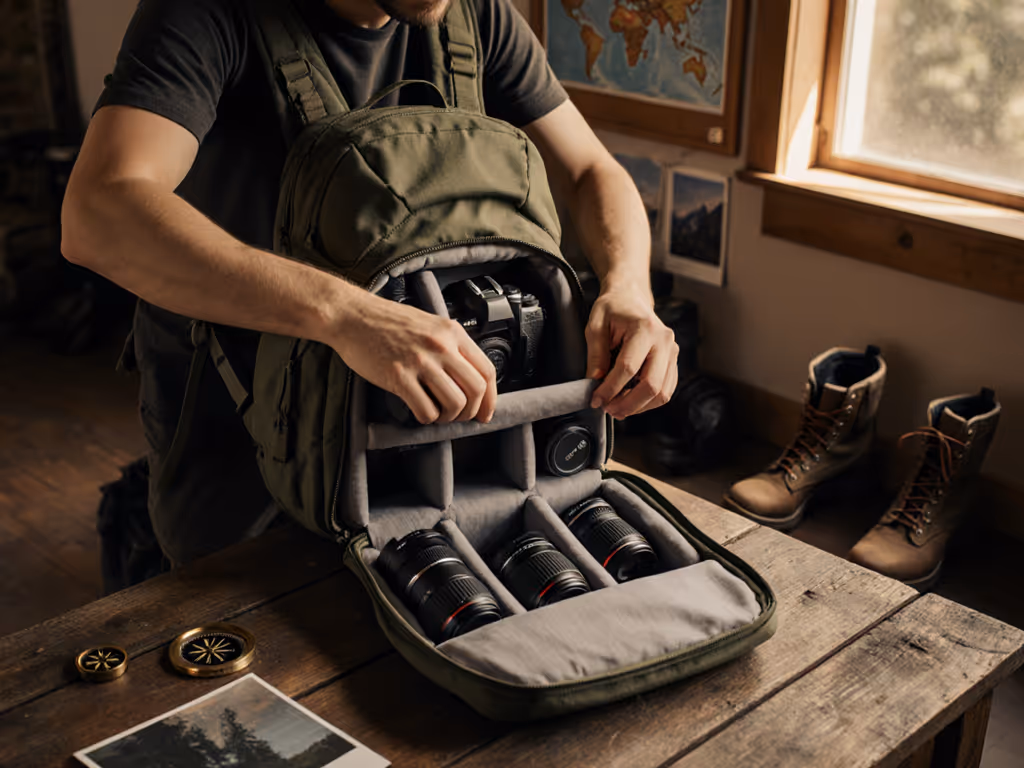
A camera bag insert is a modular padded compartment with adjustable dividers that fits inside your existing backpack, messenger bag, or travel luggage. Think of it as a protective "camera cube organizer" that creates a dedicated, shock-absorbed zone within any bag you already love. Unlike dedicated camera bags, which often force you to compromise on aesthetics or everyday functionality, inserts let you repurpose your favorite non-camera bag without lugging around a second bag.
This approach solves a core problem many creators face: inconsistent access to gear when switching between shoot days and regular days. You invest in a professional camera bag but rarely use it because it screams "camera gear" at security checkpoints or doesn't fit your commute style. Inserts eliminate that friction.
Can you really put a camera in a backpack safely?
Yes, if you use the right insert. Standard backpacks lack the internal structure to protect fragile lenses and sensors from bumps, drops, and impacts. But a quality insert with ImpactSafe foam and removable dividers transforms that risk. I learned this the hard way after my first "pro" bag, a 20-pocket monster that left me constantly unpacking and repacking gear mid-shoot because I couldn't find batteries. Now I prioritize simplicity: a single insert with labeled zones inside my everyday pack. It transformed my workflow from frantic to fluid.
When choosing an insert, look for:
- Water-resistant exterior fabric (critical for sudden downpours)
- Adjustable Velcro dividers that stay put under movement
- Bottom padding at least 1.5" thick to absorb impact
- Quick-access panels (top or front zip) for shooting on the move
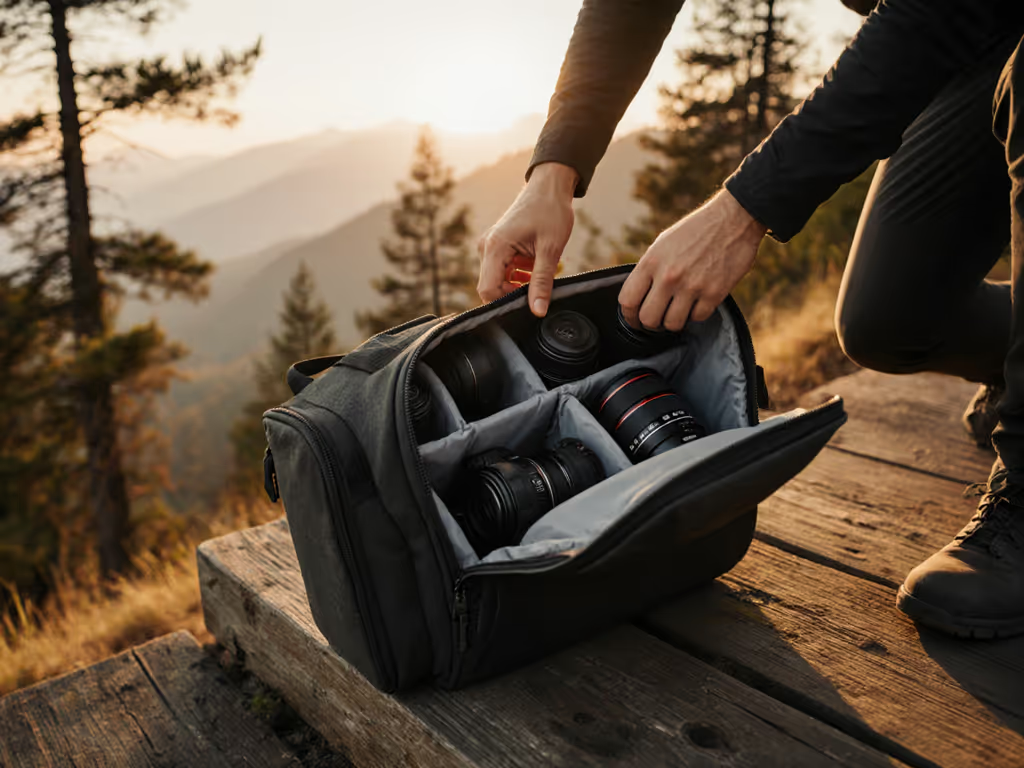
How do I choose the right size insert for my gear?
This is where most creators get stuck. Instead of guessing based on "DSLR + 2 lenses" marketing claims, map your actual kit:
- Lay out your full shooting kit: camera body, lenses, batteries, cards, small accessories
- Measure the longest lens horizontally (this determines minimum insert length)
- Stack items vertically to find required height (include 1" buffer for padding)
For example, a mirrorless setup with a 24-70mm lens might need only an 11" x 7" insert, while a DSLR with 70-200mm requires 14" x 9". Getting this wrong means struggling to cram gear into too-small compartments or wasting space in oversized inserts, both create frustration on location.
Pro tip: If you own a Langly camera insert or similar modular system, use their included sizing templates before purchasing. Most brands provide exact interior dimensions online.
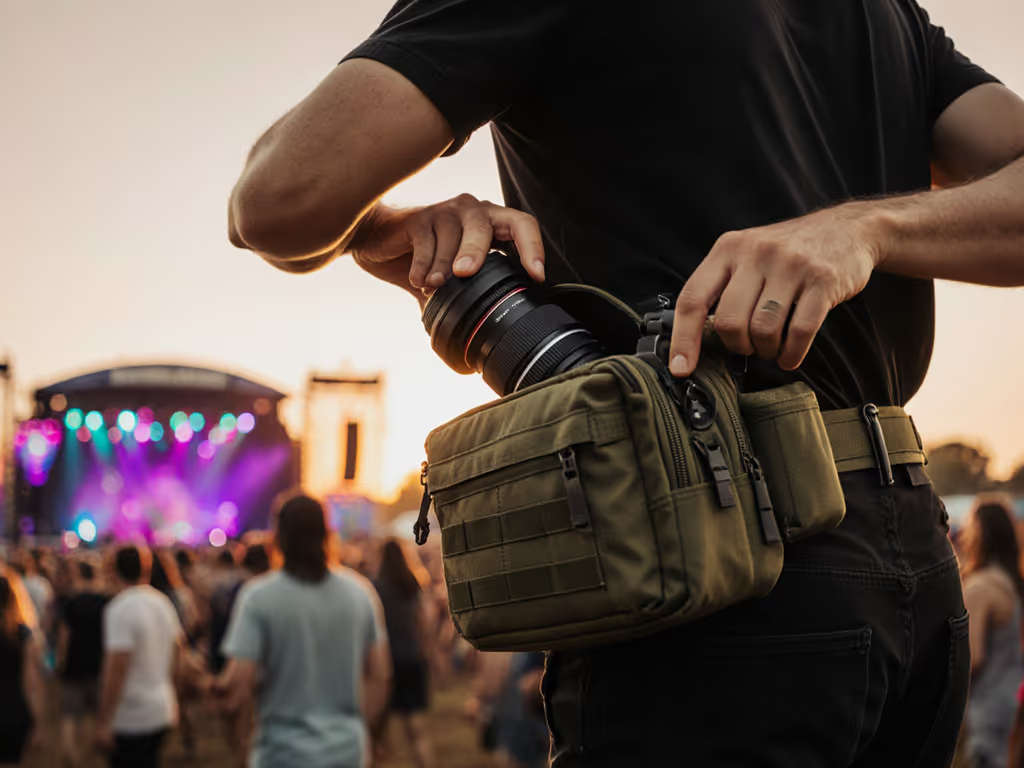
What features matter most for my specific shooting style?
Your insert needs depend entirely on how you shoot. Here's a quick decision tree:
Do you shoot street/urban? → Prioritize front access panels
Do you hike or travel? → Choose water-resistant with lockable zippers
Do you switch between photo/video? → Look for inserts with side pockets for audio gear
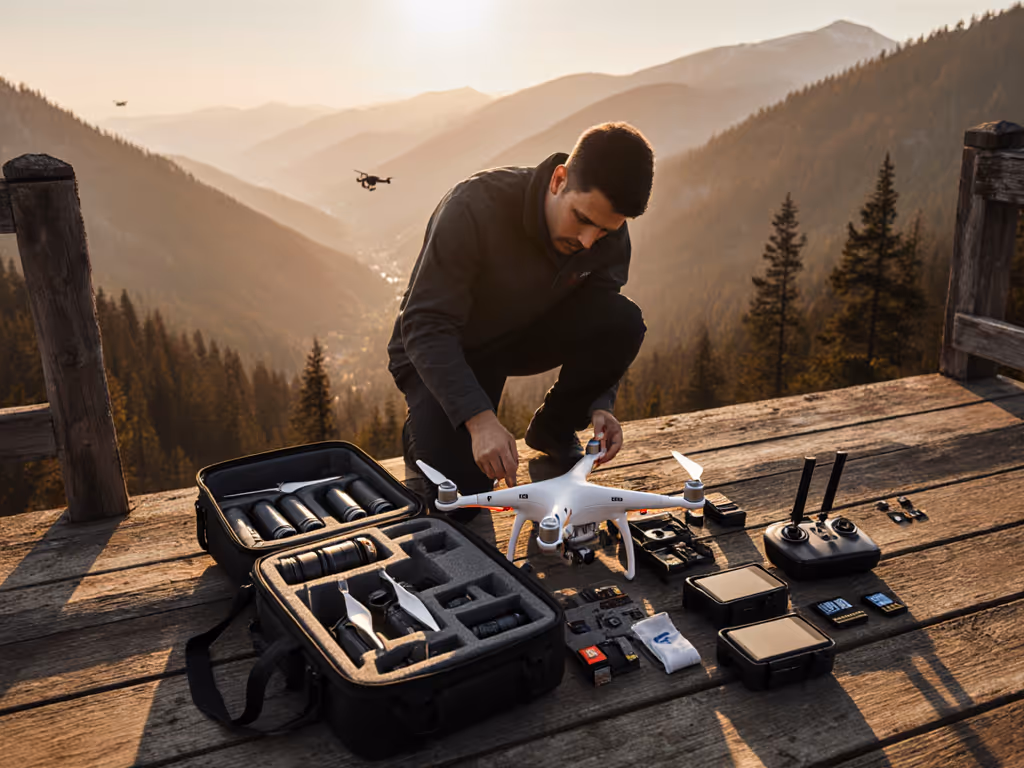
Do you carry drones? → Need extra-deep models (8"+)
For creators with back or shoulder issues (a major pain point I hear constantly), focus on inserts that distribute weight evenly across your main bag. For a deeper dive on posture and straps, see our camera bag ergonomics guide. Avoid top-heavy designs that strain your neck. Some modern inserts even include EVA foam shoulder pads that integrate with your backpack straps for better load transfer.
How can inserts solve my body-fit challenges?
This is where inserts shine compared to rigid camera bags. Most dedicated compact camera backpack designs assume a standard torso length and shoulder width, leaving petite, broad-shouldered, or curvier creators with hot spots and slippage.
By using an insert inside your properly fitted everyday backpack, you bypass this issue entirely. Your harness system stays optimized for your body, while the insert handles the gear protection. I recommend:
- Measuring your torso length before selecting any backpack (insert-compatible or not)
- Choosing a bag with adjustable sternum/chest straps that pull inward toward your sternum (not straight across shoulders)
- Using inserts with side handles to lift gear smoothly when accessing your camera
This approach saved me from constant shoulder pain after I switched to a two-bag system with modular inserts tailored to my 5'2" frame.
How do I build a modular system that grows with me?
The real magic of inserts lies in scalability. Start small with a single insert that fits your current essential kit. As your needs evolve:
- Add a second insert for specialty lenses (e.g., primes for portrait work)
- Integrate a tech cube for battery chargers and audio gear
- Use a separate pouch for drone controllers or gimbals
This "modular add-on" strategy prevents the gear bloat that leaves so many creators with a graveyard of unused bags. Each upgrade feels intentional, not reactive. It's the embodiment of my core belief: clarity beats choice overload. A right-fit system grows with you, not against you.
What's the biggest mistake beginners make with camera inserts?
Overcomplicating the start. I see so many creators trying to build the "perfect" multi-day travel system on day one, cramming inserts with 20+ dividers and redundant accessories. Instead, begin with a minimalist setup that handles your 80% shooting scenario:
- 1 camera body
- 2 most-used lenses
- 2 batteries
- 2 memory cards
- lens cloth
Master this core configuration before adding complexity. Then follow our 5-step camera bag organization guide to fine-tune layout and access. Your insert should take 3 seconds to access your primary lens, not 3 minutes to reconfigure dividers. Remember: system over stash.
Your Next Step
If you're tired of carrying two bags or constantly second-guessing your gear setup, experiment with one well-sized insert inside your most comfortable everyday pack. Measure your actual kit, prioritize features matching your shooting style, and resist adding modules until you've mastered the basics. The goal isn't more gear, it's more confidence that your system supports your creativity, not complicates it. When you find that sweet spot where your bag disappears into your workflow, you'll wonder why you ever settled for anything less.
Related Articles